D.1 Define Existing Demand Profiles in
Database
|
Exercise
purpose: |
To
know how to define demand profiles using an existing database. |
|
|
|
|
1. Define a demand profile. |
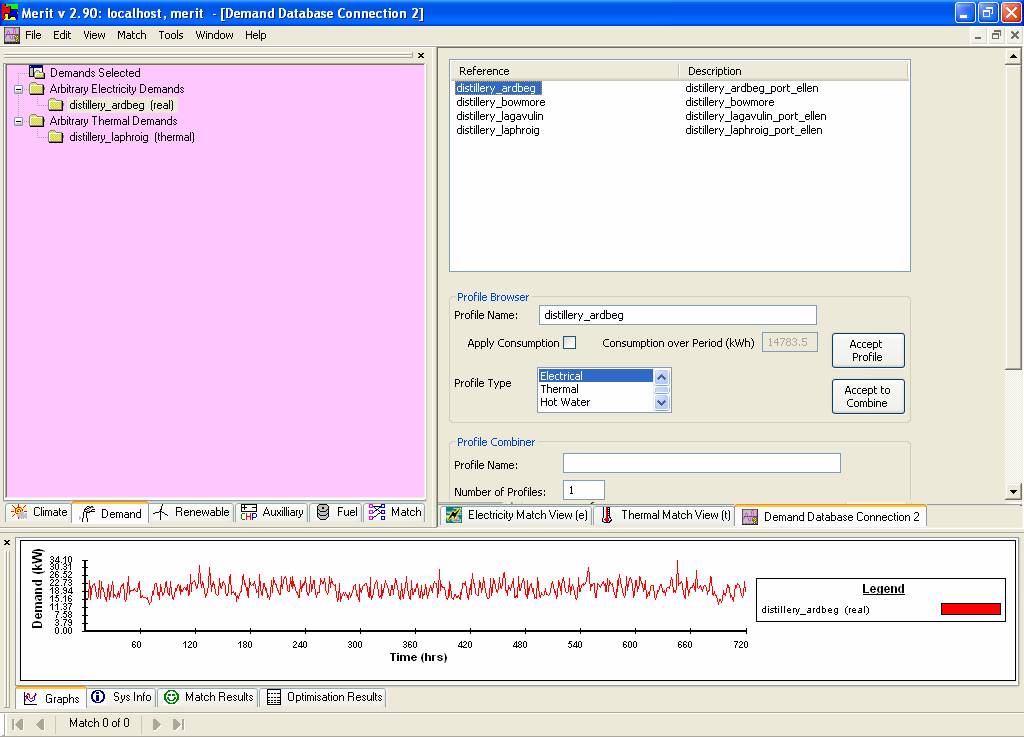
Click the Demand tab in the top-left frame to change the focus to demand profile definition. Right-click over the window frame of the ‘Demand’ theme and a pop-up menu will appear. Select the option Load Demand; and a list of existing demand profiles will be presented in a new Demand Database Connection window in the upper-right frame. Many of the windows in the upper-right
frame will appear with a scroll bar on the right. This is an indication that
some of the interface is hidden. To select an item from the list, double click on it. For this exercise, select distillery_ardbeg from the list. You should see the Profile Name: field filled in with the selected profile and a graph of the profile in the bottom frame. You can rename the profile name by typing it in the profile name field.
If you decide to use the selected profile as a demand profile, press the Accept Profile button to accept this demand profile, which should now be shown as a new entry in the upper-left frame under Demand Profile Selected.
|
|
2. Define two other demand
profiles. |
In the same way as described above, make
two other demand profiles selecting ‘distillery_lagavulin’
and ‘distillery_bowmore. |