K. Importing
Entity Data
|
Exercise purpose: |
To become familiar with the import of entity data. |
|
|
|
|
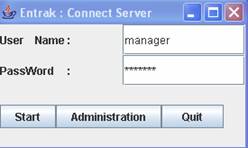
1. Start the administration
mode. |
To import new
data into a database, the user mode needs to be changed to
'administration'. Click the 'Administration'
button at the initial pop-up window of EnTrak.
|
|
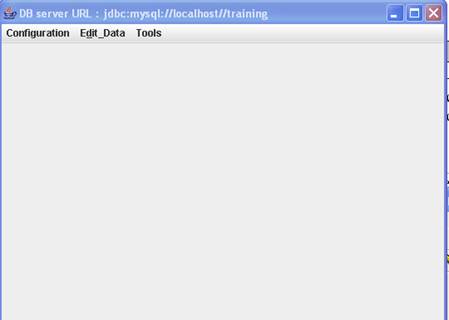
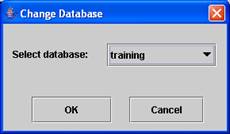
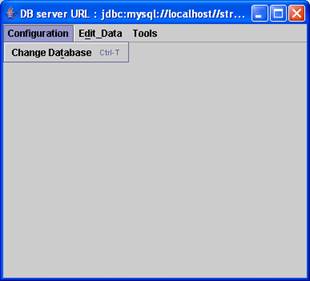
2. Configure database. |
To specify the
database you want to import data, you need to select the database name from 'Change
Database' under the 'Configuration' menu. Select a
database to be focused. The default database is ‘training’.
|
|
3. Download file. |
To download a
sample file, click here
('EntityData
'), and open it with a
spread sheet program (e.g. Microsoft office Excel). This is an example
file for entity importing.
|
|
|
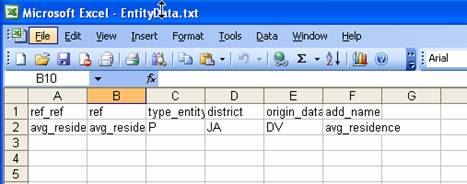
You can add several examples of building information. 'ref_ref' and ‘ref’ are reference numbers used as identifiers for database management; 'type_entity' can be a building type or main use (e.g. in the training database, P corresponds to Primary School); add_name is a name for the building. NOTE: You must leave the title row at the top. After
adding data records in the file, 'Save
As' the file in text format (tab delimited). NOTE: Make sure that you have 'write' permission in the directory you would save the file. In the case of network disk drive, you may need to use 'A' or 'H' drive to save the file. |
|
|
|
|
4. Import a text file in Administration mode. |
To import the data records in the
file, Open 'Import'
tool under the 'Tools' menu. |
|
|
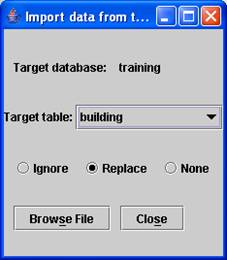
Choose 'Building' and 'Replace'
from the 'import data' box.
|
|
|
Choose from 'Browse File' the 'EntityData.txt' created previously and click 'Import into Building Table'. You can confirm the completion of the importing operation by viewing the imported data (i.e. ‘avg_residence’). To view the entity data, open the ‘Edit Entity Data’ by selecting ‘Entity’ menu under the ‘Edit’ menu, and click the ‘Go & Take’ button. You can find the data record of ‘avg_residence’ in the query list. |
|
|
|
|
Exercise result: |
Ability to manage entity data import. |